ArcGIS
Contents
About ArcGIS
From wikipedia: ArcGIS is a geographic information system (GIS) for working with maps and geographic information. It is used for creating and using maps, compiling geographic data, analyzing mapped information, sharing and discovering geographic information, using maps and geographic information in a range of applications, and managing geographic information in a database.
Availability
ArcGIS is available for faculty and staff. Please contact support to arrange installation. Students have access to a one year license of ArcGIS Desktop Student. This includes ArcGIS Desktop and the following extensions:
- 3D Analyst
- Geostatistical Analyst
- Image Analyst
- Network Analyst
- Publisher
- Schematics
- Spatial Analyst
- Tracking Analyst
- Data Interoperability
- Data Reviewer
- Workflow Manager
Downloading ArcGIS Desktop Student
1. You can Download a student copy of ArcGIS by following this link to create an account:
http://www.esri.com/landing-pages/software/arcgis/arcgis-desktop-student-trial
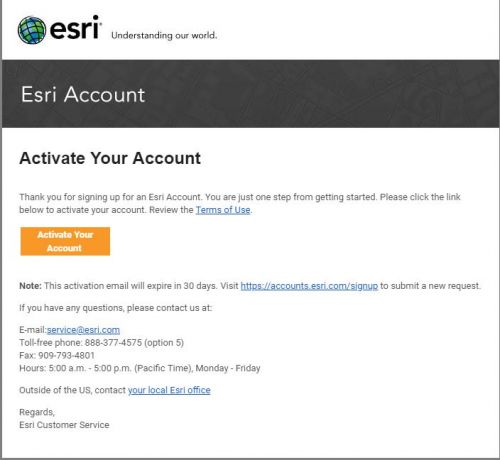
2. Once the account has been created check your email for for an activation email
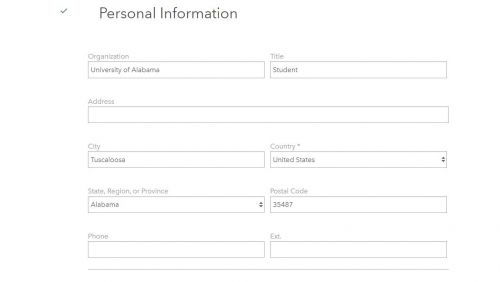
3. After clicking the button "Activate Your Account" follow the steps of filling out the information
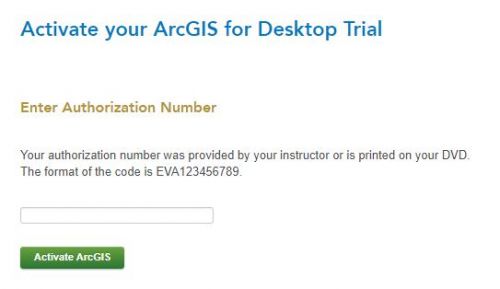
4. Next you will enter the activation code given to you by your instructor
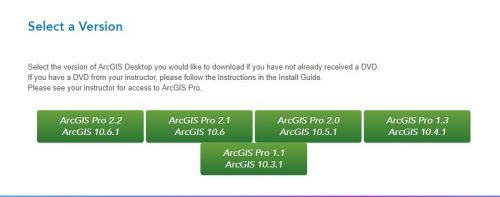
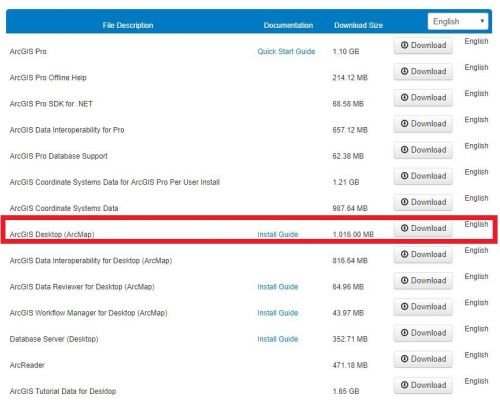
5. Now that the account has been activated you can select the version of ArcMap you would like to install
6. The next step is to select the download select the "download" button for "ArcGIS Desktop(ArcMap)"
Installing ArcGIS Desktop Student
1. Select ArcGIS for Desktop Advanced (Single Use), and click Authorize Now.
2. Verify the software you selected is listed at the top of the box. Click OK.
3. Select I have installed my software and need to authorize it. Click Next.
4. Select Authorize with Esri now using the Internet. Click Next. If you do not have an Internet connection on the computer you intend to install the software on, you can authorize the software using another computer that has Internet access or via e-mail.
5. Enter your personal information (2 panels). Click Next on both.
6. When prompted, accept the default, I do not wish to authorize any extensions at this time. The extensions will be authorized automatically.
7. Enter your 12-character authorization number (EVAxxxxxxxxx), and click Next.
8. After the authorization process is complete, click Finish. Authorization typically takes between 30 seconds and 2 minutes.
9. Click OK to close the ArcGIS Administrator. The software is ready to use.

